Thursday, January 30, 2014

Persian Lights Bracelet

I watched a video on youtube about the persian lights bracelet and fell in love with how shimmery and sparkly it was.  I decided to try to make it with just what I had on hand.  The bicones along the outside should have been much smaller, but it's what I had so I made it work.  In the video, the instructor said that the first time would take quite a while to get the hang of it but subsequent bracelets would only take about two to three hours to complete.  This was my first try and I completed it in about an hour and twenty minutes.  Not bad, its pretty simple and very repetitive so it went pretty fast.  I think this would be beautiful using the black seed beads with silver glass beads and black bicones.  Think I will try that one next :)  TFL


Sunday, January 19, 2014

Upcycled soda can Dragonfly pin

I love upcycling things.  Today I was playing with some new dies and embossing folders that I got and decided to make this dragonfly pin.
Vintaj offers an awesome set that includes a  Sizzix dragonfly die as well as a flower pod die and three different mini Sizzix embossing folders.
I started out by cutting two of the dragonflys from a soda can.  I then embossed one of the dragonflys before coloring them with the Adirondak alcohol inks.  I really recommend coloring the pieces before embossing them.  This would have been much easier.   I truly had visions of turquoise and purple, but didn't have time to dig through my craft stuff to find these colors and hte orange and purple were already out.  It worked for this experiment.   lol...next time!  Anyway once the colors were dry, I just used a piece of tacky strip to attach the two pieces and slightly bent the top wings up to give the appearance of flight.  The pic doesn't yet have the pin back attached, but am going to attach this with some e6000.  Thanks for looking! :)

Thursday, January 9, 2014

A Few Gifts

These are just some simple gifts that I made for my bestie and her hubby for Christmas.  Jackie loves to bake and is always making something for her Hubby Paul.  So I thought a nice cake taker would be the perfect gift for her.  And Paul is a huge Cowboys fans and water drinker and is always saying how he needs a bigger glass, so I thought I would make him one with his favorite team on it.  I fully intended to etch it in the glass, but I was just so rushed with everything this year that it was just easier to cut some vinyl and slap it on there! :)  The Plate is a gift I did for them last year, but never got a pic of it before now.  They both enjoyed their gifts though, which is the whole purpose of gift giving in the first place! :)  TFL


Money/Giftcard holders

So every year my dad and my dad's girlfriend, Stella, each give the great grandkids $5.00 for Christmas, Typically they put them in an envelope with their names on it.  But this year Stella asked me if I could make something cute to put them in and hang on the tree or put under the tree.  She was thinking a cute little box...I was thinking my girlie girls love purses and I had seen a few around that were done with circle and other shaped die cuts, so I thought I bet I could make me one of my own to cut on my cricut so I set out to work, here are the results, since I have two grandson's as well, I was in need of a boyish item as well so I made a wallet, decked out with ribbon, sticky gems for a little Christmas sparkle, and some iridescent snow flakes to top it all off.  I used single sided paper, but if you want to have them double sided you can use single sided paper ang just cut twice flipping one over and glue together or purchase double sided paper. then just glue the money/giftcard holder in the center of the purse and you have a super cute little purse.  With the Wallet, just cut, fold and glue the tabs!  Pretty simple and I think they turned out pretty cute and both svg's can be found in my blog store.  TFL


Snowman Handprint Ornaments with the Grands Pic Heavy

This year's fun activity with my grand kids was making the adorable Snowman Hand print Ornaments!  They had a blast making them.  Each kiddo had definitely ideas and stories to tell when they were painting their snowmen families. I love the intensity in their facial expressions when they are creating.  TFL
               Coby

                                                                                Lylliana


 McKaiLee

 Gianna 


 Riggin


Indika

Waterless Snowglobes - Pic heavy

My Friend Jackie asked for my help in making her family some waterless snow globes from up-cycled containers.  I of course jumped at the chance since my daughter collects snow globes as well.  So, off we went in search of the perfect containers.  We must have hit at least a dozen second hand stores when we hit the jackpot at the Salvation Army store.  most of them were square glass or round apothecary type jars with lids, with the exception of one,

being an old glass cheese block with a wooden base that was perfect for the Victorian scene.  We used a very lacy white doily to complete the look.  Most of the people we got at the dollar store, along with trees, streetlamps and park benches.  The snow came from Joann's Fabrics and of the animals made by Schliech toys were all picked up at D & B.  The embellishments for the tops mostly came from Joann's fabrics and the dollar store as well. We used e6000 to seal the jar lids to the jars.  When it came time to do my daughter's I couldn't find any of the previous jars we used, but I did find an awesome glass cake cover with no bottom to it.  I thought maybe I could find a glass plate for the bottom and was looking around a second hand store when I spotted a few of the Glass turntables for a microwave oven. The turntable was a bit larger than the glass topper, and left a ledge that I wasn't sure what I was going to do with, when all of a sudden it hit me....A TRAIN!!!!  So I finished the inside and then added the tracks and trains to the outside of my little village, it turned into a whole city complete with Santa, carolers, the Christmas tree, houses, sledders and just people milling around.  I love how beautiful each and every one of them turned out.  All unique and catered to each receivers personal preferences in life.  What fun we had. Have a whole pic and a closeup of each.  TFL
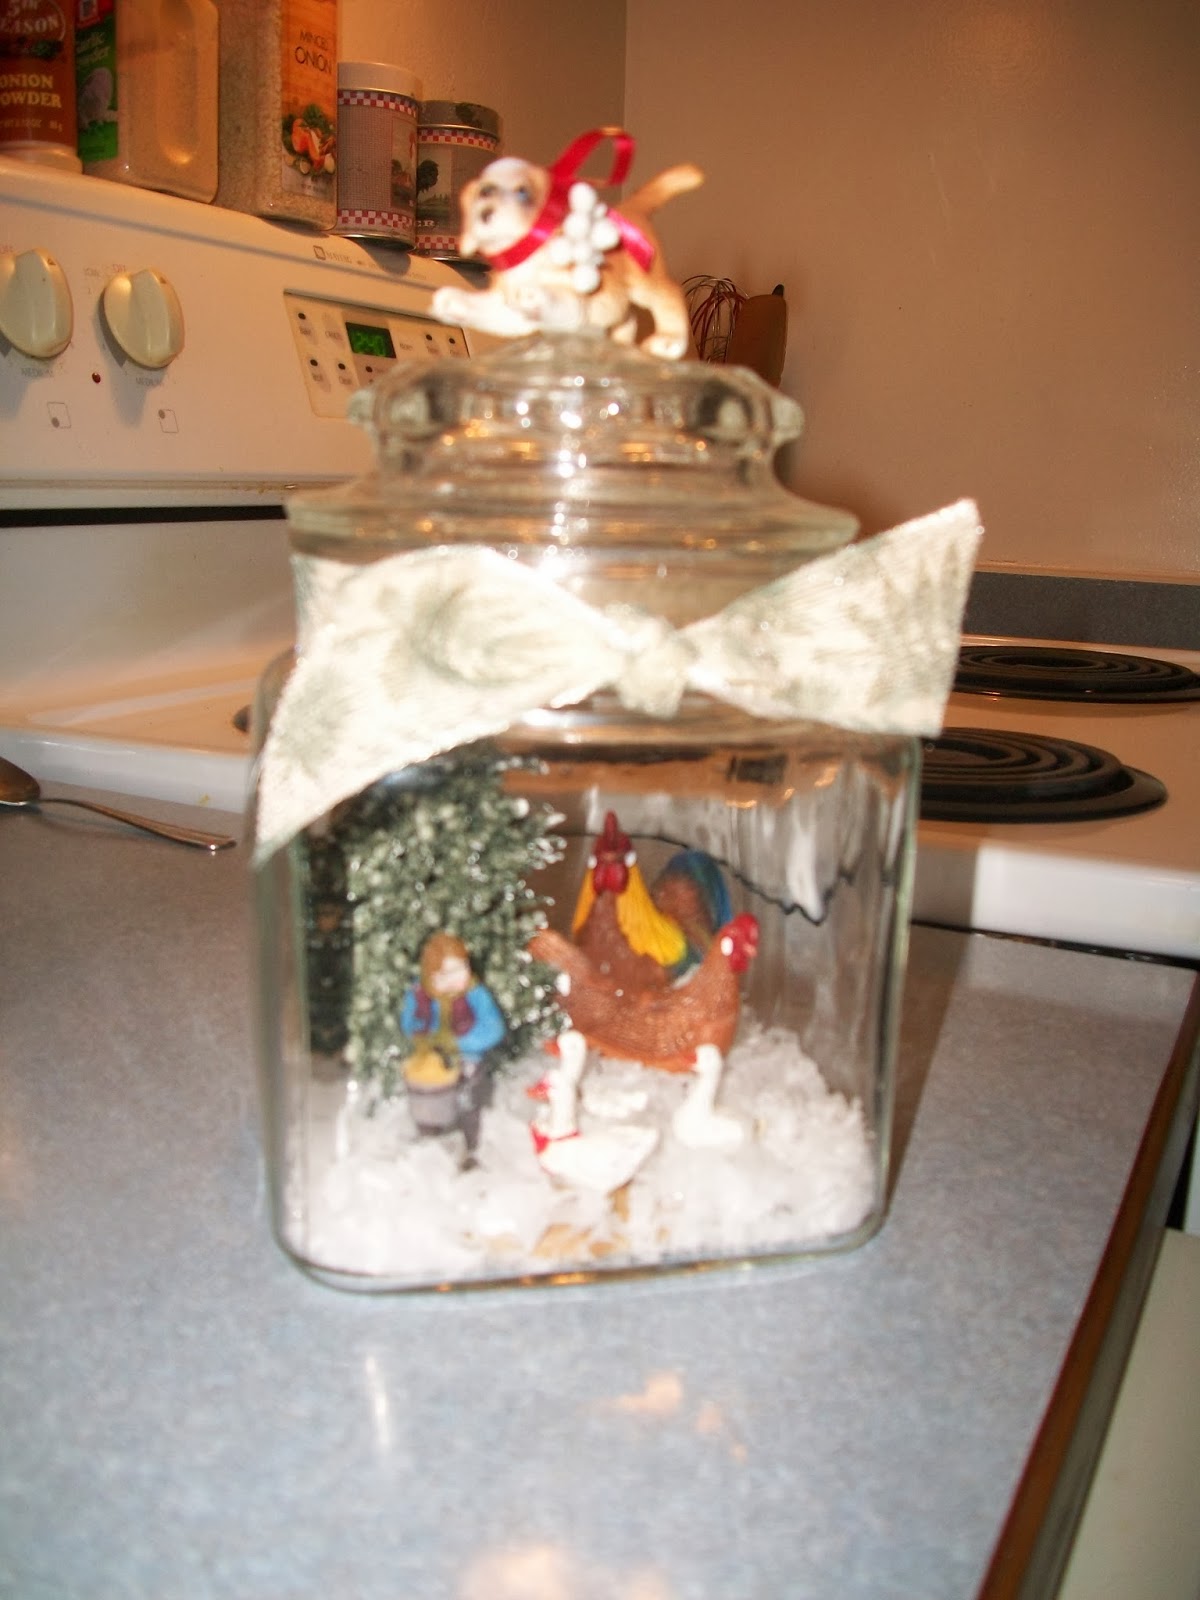
 Brett and Amy's Farm
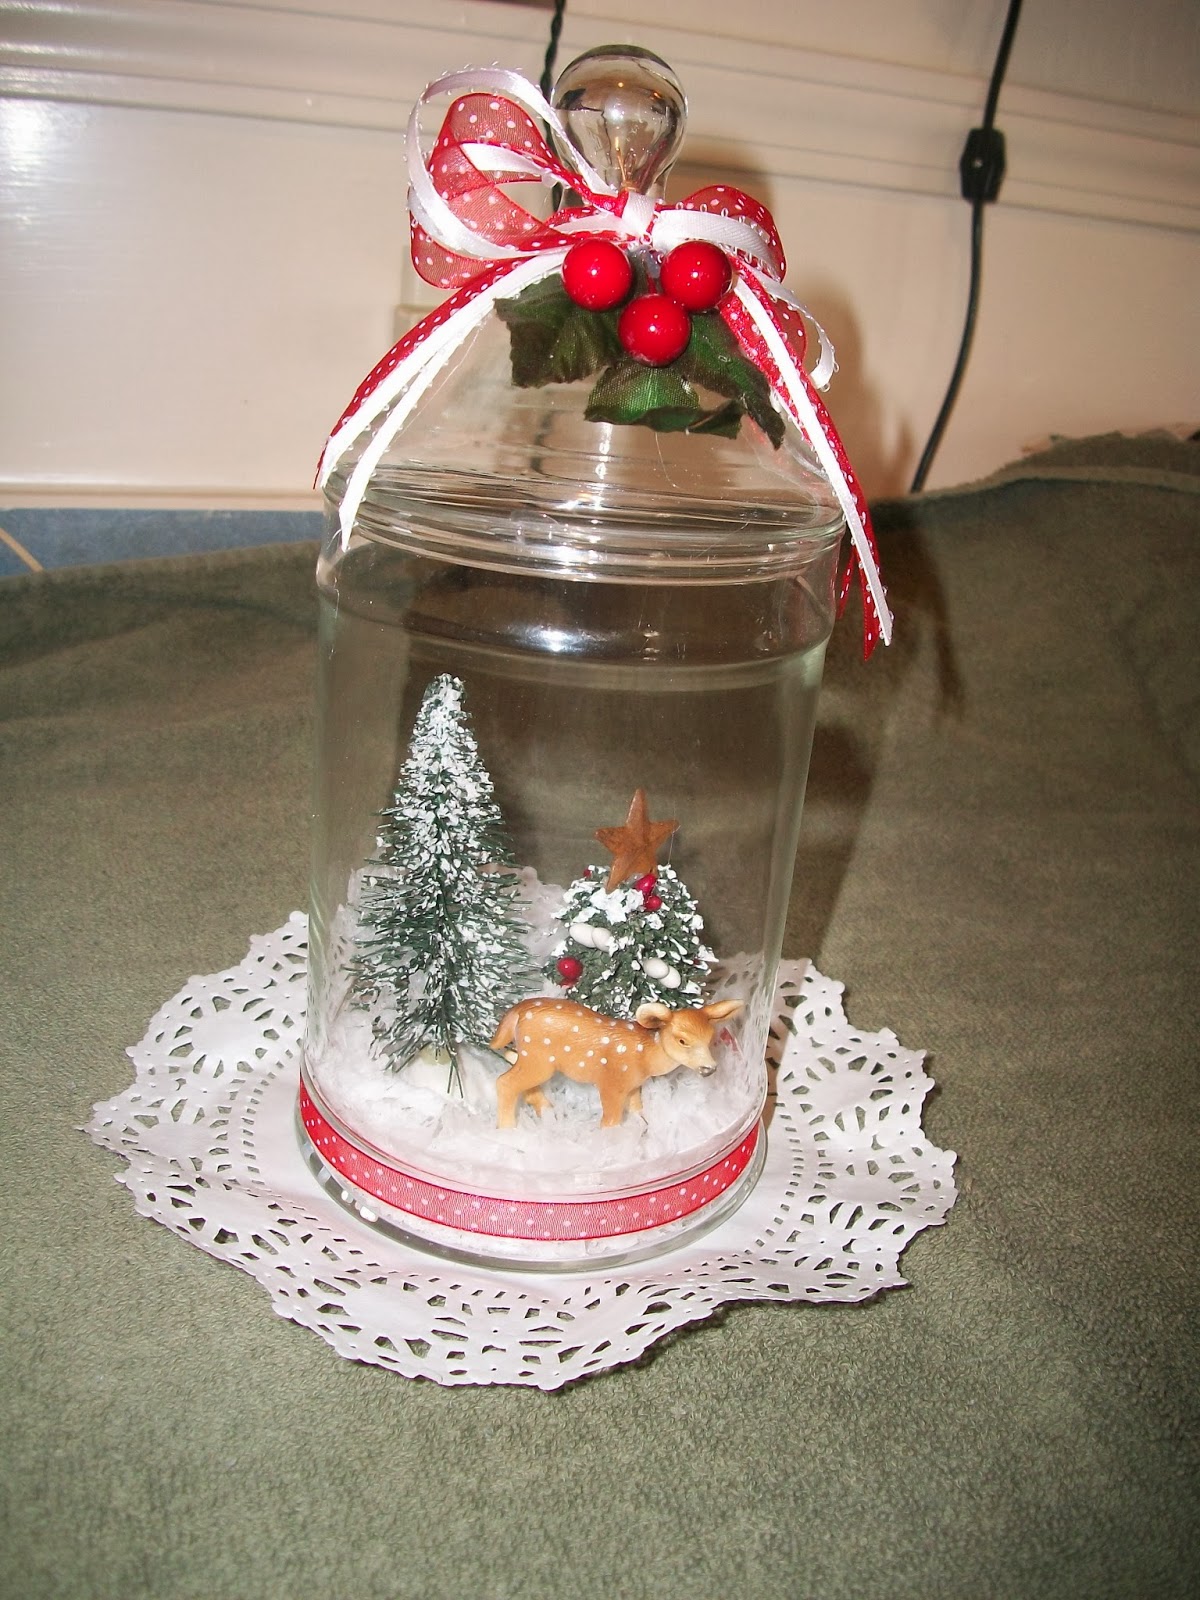
 Lark's Deer


Nevada and Al's Cat


 Joel & Andi's Wolf

 Jackie's Mom, Evelyn's Victorian scene


 Candy's Winter Scene
 The Entire Set together, minus My Daughter's
 Nikkii's Snow Globe.  Sorry, we were in a hurry that day and I took the pics of this before I cleaned up all of the glue strings, globs and strands. :)


Christmas ornaments

I found a really neat site in Dec of 2012. but of course it was just after Christmas, so I waited a whole year to make these little ornaments.  They are made from paint sticks that you find at any hardware store.  I called  home depot and the sales associate told me that they are free up to ten, but I needed 50 of them!  Well she gave me my ten free ones which would have made plenty of ornaments but I really wanted to make one of each so I only paid 5 cents each for the other 40!  Very affordable!  Needless to say I got so busy with everything else in my life, I only got a set of 7 made.  The cool thing is that you get three of the ornaments from each paint stick and the part that is left over, makes the most adorable snowman ornament ever!  Love it when you can utilize every single part of whatever medium you are working with.  For the free downloadable templates and a complete tutorial on how to do this yourself, you can go to Today's Fabulous Finds.  I chose my own colors of paper and curled my wire hangers hanging a little silver bell on each of them and stained my wood a dark brown.  I had decided that I am going to do an entire set for my tree next year, but with maybe 50 of the 700 names that Jesus is referred to in the Bible.  I want to do them all on Gold glittery paper distressed with brown ink edgings.  Should be fun!  TFL
 without flash
with flash

Destination Wedding Gift

Gosh, December was just a very hectic and busy month, not that I am complaining, but I have so many things to blog about and just haven't found the time, so here goes...My boyfriend's cousin and her hubby got married on October 26th in Ambergris Caye, Belize...yes I know it says 29, I changed it lol.  I wanted to do a wedding gift for them that would always take them back to that moment in time when they became Mr & Mrs.  I found this really neat placemat online that showcased the island and all of the attractions that it encompases.  I then of course vinyled on the names and date.  They really loved their gift and it hangs among their other cherished items in their living room! :)  TFL