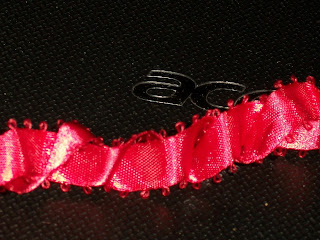
For this tutorial, I used a 12 inch length of 1/2 inch ribbon. You will need more ribbon for the larger sizes.
Fold your ribbon in half and hold the center point between your thumb and pointer fingers. Take the bottom ribbon and fold it over the top and hold it, you will simply continue to pick up the bottom ribbon and fold it over the top ribbon until the ribbon is completely folded. It should be a nice little square shape of folded ribbon when you are done. When you are have folded it as far as you wish to fold, hold on to the last two folded squares of ribbon and let the rest go. I should then look like this:
close up view of what it looks like when you let loose of the squares.
You will then take the bottom ribbon, yet again, while holding loosely onto the top. Pull the bottom ribbon as far as you can pull it and you will see the rose take shape before your very eyes! This is what it will look like then:
Now you simply get out the hot or cold melt glue gun and secure the last two folds to keep the ribbon in shape. Cut your ends so that they don't show and there you have a very easy, super simple, yet beautiful little rose. My head is spinning thinking of all the things I can use these roses on!


No comments:
Post a Comment