Friday, June 28, 2013

Garden Maidens

I have a wonderfully creative friend named Deniece Halford.  She made these awesome garden maidens and they were just way too beautiful not to share with everyone.  I have wanted to make these every since I first saw them, but wouldn't you know it, I can't find the darn doll heads anywhere! :( boo hiss! lol.

She started out with three doll heads that she found at the thrift shop.
 Then she cut their hair very short.
once that was done, Deniece cut the tops of the heads off.  She said this was the toughest part as the heads were very stiff and sturdy.  Perhaps using tin snips after making the first initial incision would work much easier than using scissors.
Once this process was complete, she sprayed them with gray paint,
While the paint was still wet she sprinkled them with sand which gives the doll a faux concrete/hypertufa look.  The doll was then sprayed with clear varnish as a sealant.
Once they were thoroughly dried, she planted the plants of her choice and the result is this beautiful set of garden maidens.  You can find Deniece on Facebook.
By the way, the total cost of Deniece's Garden Maidens was as follows:
Total Cost = $14.00
$4 at thrift store for doll heads. $6 for plants, $4 for paint and varnish. versus the $108.00 ones that she viewed at her local garden center.  Now that is an amazing bargain! 

Wednesday, June 26, 2013

Hawaiian themed Birthday party

My beautiful grand daughter Gigi turned 6 today and she wanted to have a Hawaiian themed birthday party.


Her momma decided to make the cupcakes and cake for her birthday and I thought they turned out so cute that I just had to share them with you!  The pictures don't do justice to the real thing.  My favorite was the plumeria flower cupcakes that she made with Key Lime cake and pink lemonade frosting.  The flowers were done with marshmallow slices, if you can believe that and miniature marshmallows for the center and pink sprinkles for color!  She made it look so simple and they turned out so  beautiful!

The flipflops were just adorable and were done with pink lemonade cake and pink lemonade frosting,


The sand and surf cupcakes were key lime cake with vanilla frosting and graham crackers for the sand.  They were a big hit with the boys at the party.  TFL


Wednesday, June 19, 2013

Weddings, Weddings Weddings!

Gosh, I feel like I have been gone forever!  My computer gave up the ghost and I am finally back!
So many things to post but to start off today I am posting some recent things that I have done for some weddings.
The first is as set of  cups that the bride gave to her wedding party as gifts.  Her colors were mint and yellow.  When I first heard it, I was thinking...hmmm, I'm not so sure...but I have to be honest, I love this color scheme together.


The next items I did as gifts for a friends wedding presents.  Just a simple plate and a set of wine glasses that said bride and groom on them.  Not sure why the plate looks so dirty...it was actually crystal clear...maybe its my laptop reflecting on it ...anyway, I put green behind the second plate pic. to take care of the reflection glare. The plate was decorated for a Hawaiian themed wedding.  The flowers and flourishes are all done in light cream and the names and dates in white.


The last one was done as a result of the bride's mother falling in love with her daughter's wedding gift and asked me if I could do done very similar for her nephew's (the bride's cousin) wedding that was taking place in two weeks.  in case you can't read the second name it is Quyen, pronounced "Quinn"  TFL

Monday, March 18, 2013

St Patrick's Day

I'll tell you what...in all the years this partly Irish girl has been doing corned beef and cabbage, this is the first time I have ever decided to try it in the crock pot, mostly because I had so many other things going on that same day so I decided to do it the "set and forget" way.  I have never had a corned beef that turned out sooooo very tender as this one did!  I will never go back to the old way.  Dinner was delicious and there were no leftovers at all!  Oh an my soda bread turned out so pretty this year that I decided to share a pic of it with all of you! :)  So nice and crusty on the outside and tender and melt in your mouth flaky on the inside...and with only four ingredients, who can go wrong?   I know I should have posted the recipe before St. Patrick's Day, but this bread is great with any hearty soup or stew as well...even with chili! TFL
Irish Soda Bread Recipe:
3 1/2 cups all purpose flour
1 tsp salt
3/4 tsp salt
1 1/2 cups buttermilk

Preheat oven to 425°F. Lightly flour baking sheet. Mix flour, baking soda and salt in large bowl. Mix in enough buttermilk to form moist clumps. Gather dough into ball. Turn out onto lightly flour surfaced and knead just until dough holds together, about 1 minute. Shape dough into 6-inch-diameter by 2-inch-high round. Place on prepared baking sheet. Cut 1-inch-deep X across top of bread, extending almost to edges. Bake until bread is golden brown and sounds hollow when tapped on bottom, about 35 minutes. Transfer bread to rack and cool completely.

Wednesday, March 13, 2013

Crocheted Curtain Edging

A very good friend of mine had a beautiful shade tree in her front yard, that they recently had to remove, which provided lots of shade for her front porch deck.  After the removal of the tree, she found that too much sun shone directly into her living room in the early morning, so she had an idea to do some shabby chic curtains, but couldn't find the type of lace that she wanted.  I told her I could crochet the edging for her and so we set out to gather the materials we would need to do so.  She already had the white sheets that she intended to use and she decided to go with a more natural cotton twine.  This is the result of my crocheting the seven inch edging on to the curtains and her sewing the curtains to the length needed.  I think they turned out really quite nice, and she loved the finished look of them.  TFL


Sunday, March 3, 2013

Updated pics of the Monster High Party (picture heavy)

Just a few pics of the finalizations of the party.  I learned something important...I AM DEFINITELY NOT A CAKE DECORATOR!!!!  haha, but Lylli loved it and that is all that matters.  I have no patience for it and to top it off I couldn't use scall with my cricut cake because I didn't have the software update and was afraid that if I updated, I wouldn't be able to use my SCAL soooooo, I had to use the diamond on the cartridge that came with it and ended up with one layer instead of two.  But on a positive note, the cake topper came out just adorable.  Again, Lylli absolutely loved the cake and all her friends thought she was so lucky..so it was all good :)  TFL

renamed sodas
Picture taking area, 

Personalized cups for each girl (14 of them!) stuffed with prizes instead of goodie bags

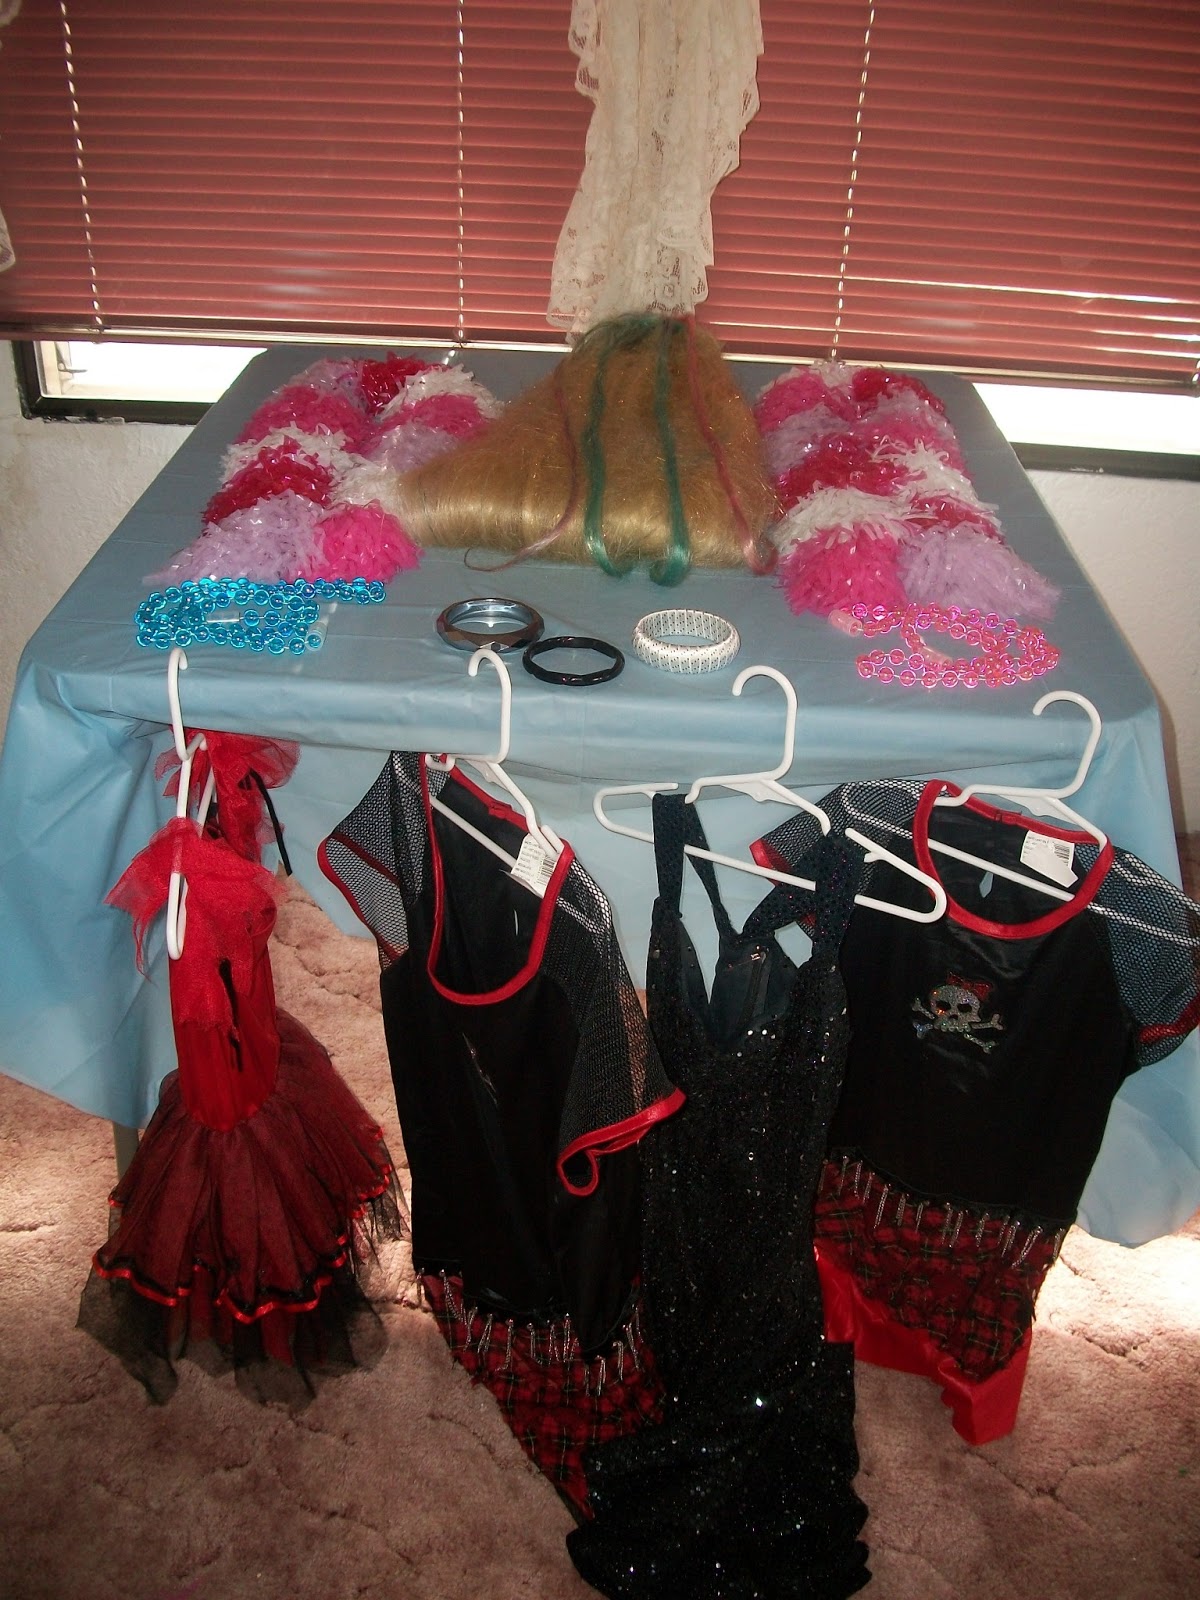
Dress-up clothes and accessories for photo op

sign for dress up

close up of accessories

finished marshmallow nail polish treats

close up of the glam squad area

glam squad area

glam squad face repair sign

 another sign
 yet another sign
 the birthday banner with coffins, bats, hearts and VINYL!!! :)
 the Creepeteria sign
 mas'scare'ade masks
personalized Lip gloss containers, ready to go
 close up of the banner
 sign for bathroom door
 Roll call sign in (had the moms write girls names and addresses so that we can send out thank you notes with the pictures of their daughter dressed up at the party.
close up of roll call sign
The Cake, such as it was lol....you can see on the top and side where it began to crack open...I filled it with frosting as best I could.The kids didn't even notice it, they just couldn't wait to dig into it!  Ah well, such is life
 The first table set up...we had this one and an 8 ft table to accomodate everyone
Lylli modeling her brand new, specially made Monster High Tutu made by Alicia Cockerum from Pixie Tutu's, you can find her on Facebook! :)  Thanks again Alicia!  Notice the pic was taken after lylli did her own makeup! lol

Tuesday, February 12, 2013

Valentine & More monster High

Made this quick little valentine for my grandson's little girlfriend who loves Hello Kitty, I think it turned out really cute and he is so excited to give it to her.


This is the envelope that I designed for Lylli's Monster High Invitations.  tfl